One consistent truth across decades of recreational motorcycling is the need for a stronger, brighter headlights. The power for those headlights has to come from somewhere.
There’s three primary problems that a motorcyclist will encounter with their headlights. These can range from minor annoyances to serious risks with deadly consequences.
Motorcycle manufacturers are is business to make money. This is obvious. Likewise it follows that the economical motorcycles the most likely to be moto-commuters are built to a price point. Even the priciest of motorcycles are built to meet a target of some sort, that means compromise is the order of the day.
Problems With Old Bikes And Inexpensive Commuters
Thin Is Not Better, Especially For Wiring Up Headlights
The first and most common compromise is the use of a standard (thin) wiring to power the headlights. Heavy gauge wire costs more and its stiffness makes it more difficult to fit through various openings in the frame. Throw in the difficulty of getting thinner and thicker groups of wires through the shrinkwrap tubing in the wiring loom, and now you’re talking entire minutes added to the assembly process.
Companies often “solve” for this problem by using a standard wire gauge that is used throughout the the motorcycle. And unless they spend another nickel on relays, power just runs up through the handlebar cluster. That’s the long way around your motorcycle for all those electrons. Those poor electrons end up dropping plenty of voltage covering that distance, not to mention heating up cheap connectors. If you’re lucky it’ll just fail open, instead of failing hot and maybe starting a little fire.
Form Is The Function
Second, motorcycles are not strictly-utilitarian vehicles built as paragons of pure function. And very few of us would realistically prefer such a complete triumph of function over form. But this does mean that motorcycle headlights are built within the constraints of the designer’s intent. Your headlight won’t always be the most perfectly efficient reflector. Unless you’re riding a Goldwing with acres of space on the front cowling, compromises were made for the sake of styling. This means the headlight reflector shape may not be optimal for “professional” levels of riding. This also isn’t something that you can easily remedy with a replacement part out of the manufacturer’s catalog.
Sparky: Old Headlights
And much like ourselves, our bikes age. Sometimes quite well and gracefully and other times not. Especially for commuters that may have been ridden hard and put away wet for years. In particular, the reflectors may be a little dodgy, with a few rusty spots. The connectors definitely aren’t that great anymore either and may need cleaning or re-soldering.
Most confounding of all the electrical conundrums, your bike’s stator might be a tad bit weedy for early 21st-Century commuting. Say you’ve found a really sweet 70s-era KZ to commute on. Either you or the custom builder clean up the KZ and painted it. Your bike is looking sharp. The Kazoo even has modified wheels that will at least take 90s-era rubber fore and aft. Truly sweet ride, and totally ready for Taco Tuesday Bike Nights. But inescapably, the electrical system was designed before heated gear, huge Android tablets, 12v GPS appliances, or dash cameras were commonplace. You may need to squeeze a few more electrons out of each rotation of the crank. You might also need to optimize the ones you’re getting.
Lighting Fixes
ELECTRON FREEWAY
The first option is well-suited to those who frequently ride older motorcycles at night, the aftermarket headlight wiring loom. This keeps your existing bulbs and wiring, but uses more robust wiring to route power directly from battery to headlight. With this arrangement you get far less voltage drop and heating of your connectors. The difference in brightness isn’t stark, but is certainly noticeable. The heavy gauge wire provides additional brightness with the same wattage consumption you had before, and less connector damage. When shopping for one of these looms, make sure it has fuses and relays built-in. This allows plugging your bike’s existing headlight connectors in to control your new wiring and makes for easy installation. The reduced load on that thin stock wiring will increase the life of those stock connectors inside the handlebar cluster too.
Small Motorcycles Are Small. A Truism, But Also A Useful Reminder.
EFFICIENCY! LED Headlights For Low Power Applications
This second option is great for riders that usually ride during daylight hours. For most models, the LED bulbs can be purchased with the same connector style as your existing bulbs and are what used to be called “Plug and Play”. A little bit of fiddling with common hands tools to access the back of the headlight assembly and thirty minutes later you’re on your way to a dazzlingly bright new future.
This works particularly well for scooters and small motorcycles with undersized stators. Getting every watt out of the charging system on those machines is not only sensible but in the coldest months it’s safety-critical. The ability to allow for a little power budget to go to heated gear without stranding the rider with a dead battery makes for a more alert, comfortable, and safe winter ride.
But daylight only you say?

LED bulbs do not emit light in the same way as old-school wire filaments surrounded by inert gases. Light is emitted from each diode on the “bulb” (diode being the D in “LED”) in a very narrow beam. The LED bulb designers have to work around this by creating bulbs with diodes in every direction. But this mostly succeeds in generating a bunch of beams in various directions, and even the best have variation in brightness within the emission pattern of the LED bulb. This may be a serious problem in headlights designed for incandescent bulbs with an expected 360-degree pattern. This could leave you with dark spots in your headlight pattern and we all know that a dark spot is exactly the place you don’t want a deer to be hiding on some dark night in the country.
Volts From The Source
The third problem is a little trickier than the other, as there are two approaches.
The first one that really should be done anyway is to make sure that your regulator/rectifier system is in a good state with clean connectors that aren’t heat-damaged and the R/R unit is mounted in a place that allows it to easily dissipate heat. Some of the Honda models from the mid-1980s had the terrible design choice of hiding the rectifier in the side panels and squeezing it behind the battery next to the backbone frame rail. Good luck dissipating any heat from back there, and those rectifiers already were well known to be problematic even under optimal circumstances.
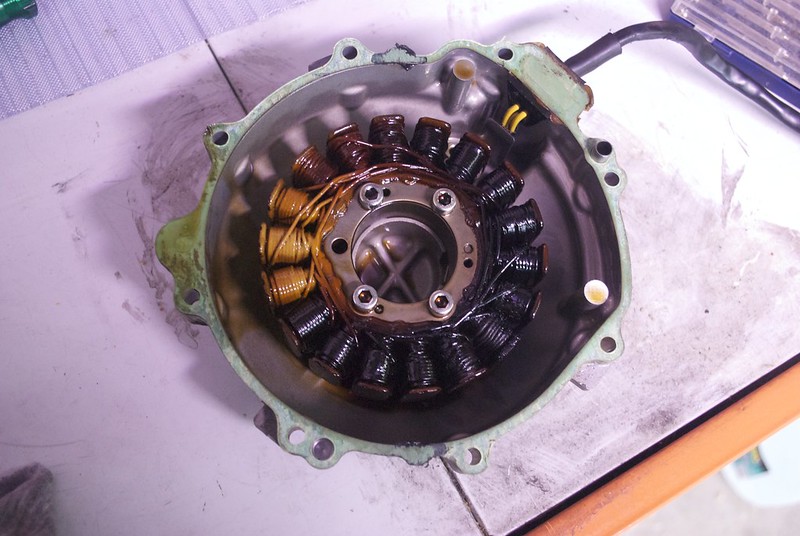
If everything looks good there, but you know that you’re going to want to farkle this bike up a bit with lights, GPS, phone charging and some good heated gear, it’s time to investigate an aftermarket stator. Removing the existing stator and running one with better or more advanced windings could push more electrons out of each revolution. When tie the new stator with an aftermarket rectifier with a higher wattage limit, you can significantly improve your wattage budget making commuting during the cooler months a much safer propositions.
With all of those concerns identified, we can now discuss a unified solution set. We’re a big fan of a combination approach:
First Option: Heavy Gauge
For the primary headlight circuit using incandescent bulbs, connect your stock headlights with an aftermarket loom to improve the reliability and reduce the voltage drop of your existing lighting system.
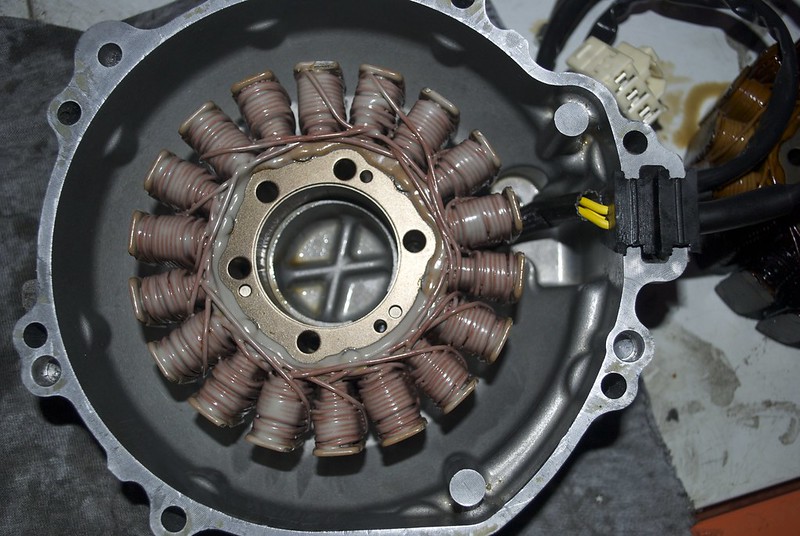
Copyright Andrew Napier — Creative Commons CC-BY-2.0
Leave the halogen bulbs in place unless your motorcycle has a low-output charging system where you really need that extra 50 watts, and get that power straight from the battery to the headlights on a heavy-gauge electron freeway with no detours and no rest stops. You’ll notice a fair return, but not earth-shattering improvement here.
Of course, if you have a small charging system we recommend some upgrades to get a bit more juice out of them. But not every commuter steed will be able to do that, especially some of the mid-level scooters.
A long-time manufacturer of aftermarket stators is Electrosport. The team here at MotorcycleCommuter have never needed to avail ourselves of this kind of upgrade, but many of our friends have done this over the years.
Second Option: Calling For Backup
Mount an aftermarket LED lighting system in a triangular arrangement. The additional lighting definitely provides a different set of point sources to reduce shadows. But this also provides other motorists with a widely-separated triangle of fog and headlights, improving their chance of correctly gauging your speed of approach.
Aftermarket systems will require a separate mount, but you can mix and match lighting to suit your needs. Need to throw photons WAY down the road but also need to worry about deer on the shoulder? No problem, just order a set with both flood and driving light patterns. You can find all sorts of interesting arrangements from various vendors. One acquaintance runs his in low mode until he hits the horn button and the lights flip to full.
With a bit of electrical work, your tried and true commuter can safely get you back and forth to work. Even in the darker months of the year, and without breaking the bank.