You’ve seen all sorts of suggestions out there for what kind of toolkit you need for adventure riding and long-distance touring, and those are all great. Especially in circumstances where you’re a long ways from civilization and hours from a tow truck. Now, as a moto-commuter, you’re obviously going to or from work, right? So the situation for a finely-tuned moto-commuter doesn’t involve everything but the kitchen sink since you’re not venturing miles from civilization, but maybe a little more preparation is warranted than just a credit card.
Let’s look at a short list of the useful tools and supplies to carry in your lightweight commuter toolkit. These may save you from either shelling out piles of cash for a tow, or worse, waiting hours for a promised tow that might not show at all.
The OEM Toolkit
One of the best pieces of advice I can give is to throw out the bike’s original toolkit. At least stash it for re-sale, because you shouldn’t depend on it. If you really want to use what came with, understand its limitations and be prepared to replace it with better tools. Those toolkits are built to a price point, and might not even be included at all on newer bikes. Any tools you source are far more likely to be better quality than the OEM toolkit, and won’t subject to the space constraints of whatever nook or cranny they decided to hide it in.
Tire Plugs
As a daily commuter the first thing you should procure is a tire plug kit. This is one of those things that we’ve all been told about, and maybe even keep on our bike, but often have never used.
Tire kits can be a little fiddly, so when you get a set of tires replaced, ask for one of the tires back. The mushroom kits in particular are fiddicult to use, so you want to practice on that old tire. While some greybears may insist you must carry tire irons to change tires by the roadside, those irons are only needed for tubed tires or out in the woods. If you’re commuting on tubed tires, you probably already know what you need for that, and the average commuter doesn’t need it.
For the really contentious question, what plug kit should you buy.
There’s a couple schools of thought on what tire plugging kit you try out. Many riders I’ve met swear by the gummy string and others the mushroom plug types, but the thread through all of these types is the need to practice.
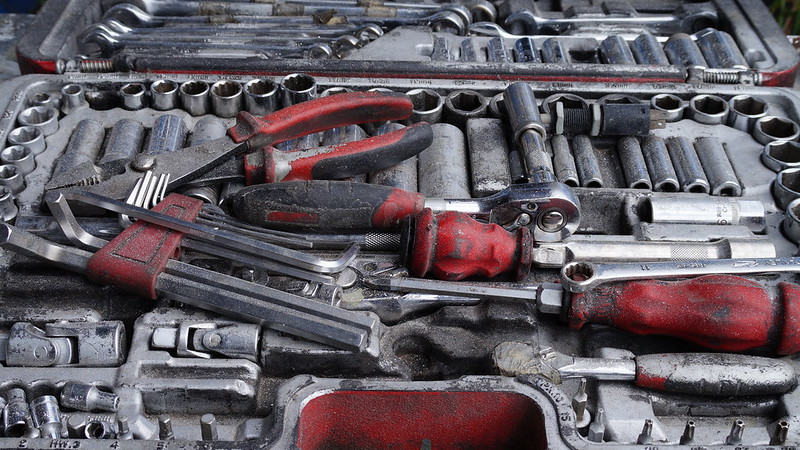
A Wretch And A Buncha Sockets
Inventory all the specific sockets required for your bike. Give your bike a really good look (which you should be doing periodically anyway) and figure out what your bike uses. Then when you’ve got a list, keep those specific items on each of your bikes. Some bikes use internal Allen/Hex and others use standard convex bolt heads, and others still use Phillips or Flat screws, and nearly all of them use some combination of the above. If you can get all of your sockets in one size of socket drive, extra points for not needing adapters.
And while adapters may be a pain, depending on the sockets you need, drive adapters may be a boon. Some sockets might only be in certain drive sizes, having the right adapter means you won’t be carrying multiple wrenches.
An Adjustable Wrench, you ask? Probably Yes, assuming your bike has a rear axle (most do) and you plan on ever needing to pull the back wheel to repair a flat. That big heavy adjustable wrench makes short work of holding the other end of an axle when loosening or tightening a axle nut.
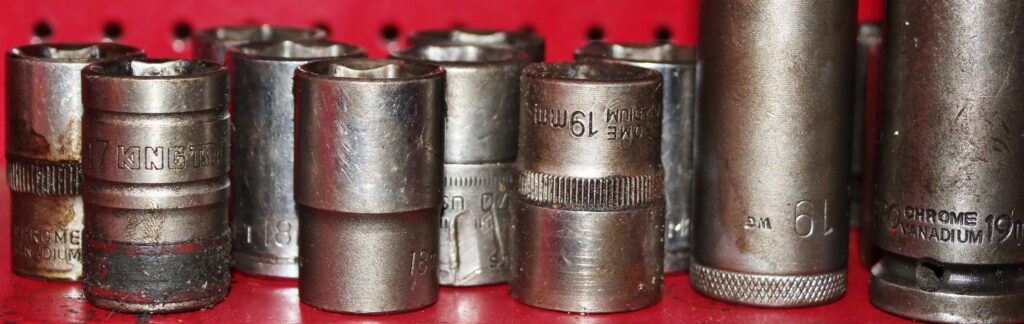
And speaking of wrenches and sockets, make sure your toolkit has the appropriate axle sockets for your bike. This isn’t necessarily a specific type of socket, but it’s certainly a particular usage. It is also usually a unique size of socket compared to anything else on your bike. This definitely varies from motorcycle to motorcycle, with some having standard bolt patterns in something like 12mm or 24mm and others using large Torx, Hex, or Pentalobe sizes.
For example, my 2006 V-Strom 650 requires a 12mm Allen socket for the front and 24mm and 27mm regular sockets for the rear axle. Whereas my 2020 V-Strom 1050 uses a regular 24mm for the front and larger 30mm and 36mm sockets in back.
Screwdriver, No OJ
Screwdrivers with interchangeable tips are quite handy. Most of the time you don’t need lots of torque since the ratcheting bits are usually a bit sloppy. In particular, they’re great for getting fairing panels off quickly. They’re also great for bikes with smaller batteries that have the small screws instead of 10mm battery nuts.
If you can carry all the Allen/Hex bits, you may not need to carry those Allen key sizes. Allen key screwdriver bits for 3mm & 4mm is extremely useful. These sizes are often only available for ¼” drive sockets and thus very small. And there’s no sense at all in carrying an entire other wratchet just for a couple 1/4″ drive socket either.
And in the interest of space, save the t-handles and long keys for the shop. They’re really great for the shop, but awfully bulky for commuting.
Yes Cheating
Make a Cheater Bar for extra torque on your wrench. Some jobs require a fair bit of torque, especially Axle nuts. If you can’t generate enough torque with just your wrench, this “cheater bar” can be made to slip onto the end of your wrench to provide a little extra leverage. Even if you don’t have access to a machine shop or a handy friend, you can make a cheap one. You can cut and then gently flatten one end of a section of appropriately-sized metal conduit. The flattened section will allow it fit onto and stay on your ratcheting wrench.
If you’re flush and want something a little more elegant, you can find a tool called a “Wrench Extender” on various online tool sales venues. But most folks that are a little bit handy can make their own
Lightning Volt
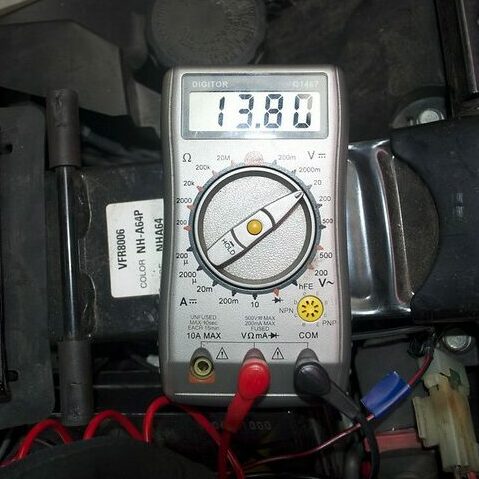
Copyright Andrew Napier — Creative Commons — CC-BY-2.0
Buy a cheap Voltmeter. These are available at any auto parts or RV store. These inexpensive voltmeters are most commonly powered by a 9v battery or a pair of AAs.
There’s no need to buy a fancy unit, just buy a cheap one. That way you can save the really nice analog ones for the shop. You’ll find you’ll care more about fluttering and fluctuations in your charging system when you’re in your shop. Along the roadside you’re probably just testing whether your bike is even charging or not. Doing deep diagnostic work is hopefully something you won’t be doing along some highway at night.
And while you’re looking at a meter, think about Battery Jump Starters. They’re all the rage now and powered by lightweight lithium batteries that hold a charge well. And with modern batteries, nowadays they’re smaller then your toolkit roll.
I used to recommend a set of light-duty jumper cables to hook up to another bike or a car. New lithium batteries are the go-to now for cheap jump-starting when you’re at work and your battery went dead. Just keep in mind that this isn’t great for your battery. You’ll probably need to replace it fairly soon after jump-starting with this method.
Spare the Fuse, Spoil The Toolkit
Buy a set of spare fuses, with at least 2 of every amperage that your bike uses. While it seems obvious, figure out where your fuse box is on your bikeand what style fuses are there. There’s bikes that still use glass fuses and bikes with multiple styles of fuse. Don’t get stuck because you don’t have the right types in your toolkit. And if you need those glass fuses, you’ll want to make sure those are well-shielded from vibration or are kept in a little pocket in your riding gear.
Illumination
Buy a really nice flashlight. Don’t go cheap on these. I don’t keep it in my toolkit, per se, but it’s always on me.
Make sure you’ve got one that has a bright setting for finding things in the dark and a dimmer setting for tasks such as inspecting possibly bad fuses. You’ll need this if you commute on unusual schedules or winter commute in more northerly climes. You can buy flashlights with built-in lithium batteries and recharge with USB. These are super-handy nowadays with half of everything we buy using USB for power or recharging.
I spent the dosh for a Streamlight 2-XL that pumps out 500 lumens at full. It’s good for about an hour or so with a lithium 18650 battery in it, and it’s bright enough that I have to be careful where I point it. But one thing it’s never been is too dim to work with.
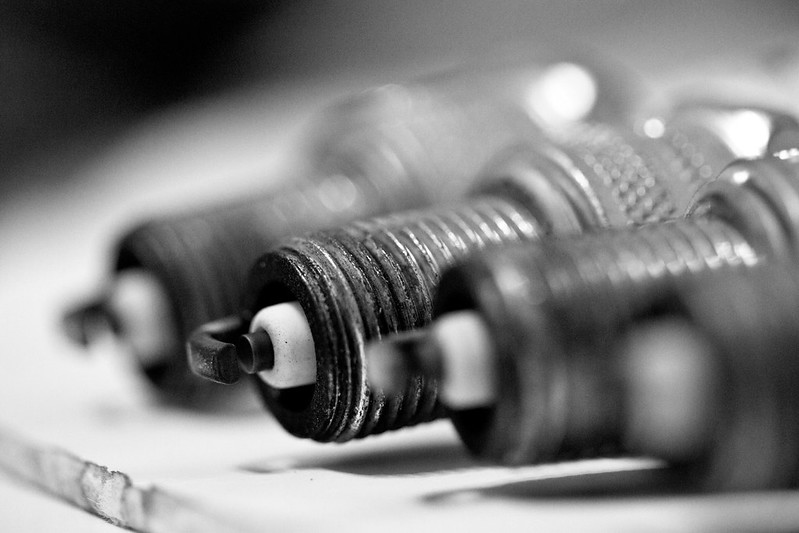
A Bright Spark In Your Toolkit
Keep a couple spare spark plugs in your toolkit. You might not have easy access to the plugs on your motor, but if you do, it’s pretty cheap insurance. If you end up with engine problems and oil on your plugs, you can swap a clean set right in. You can also buy little plastic holders to keep your plugs super safe, but I prefer to carry a pair of them in a little cardboard box. Even better, throw in a spark plug gapper and write the proper plug gap on the box flap.
Cable Connection
Know your spare cables. If your motorcycle has a cable-actuated clutch, it’s a really good idea to carry one with you. It’s not uncommon to have a cable separate at an inopportune time, and it’s a real pain in the neck to nurse a bike back home without one. If you’re particularly handy with your motorcycle, keeping a throttle cable set with you might be worth it to you. Throttle cables are a lot less likely to fail without warning than the load-bearing clutch cables though.
Tape It Up
Duct tape, Speed tape, Hundred-mile-an-hour tape. It comes in a variety of names, but like the old adage goes, they’re great for those emergency roadside repairs where you need to make things not move when they shouldn’t be but unfortunately are.
And everyone should keep Electrical Tape on their bike. I use it for all sorts of things, including vibration dampening or better grip for reseating RAM mounts that have gotten a little bit loose.
If you’re not sure where to stash it in your toolkit, take some off the big roll and carefully wrap it around the handles of your wrenches. It’ll make them easier to grip and keep the tape cleaner.
Zip It Up
Zip Ties. The Best buddy of duct tape, and these have about a million uses too. I’ve used them for holding fairing panels together and keeping my license plate from falling off. Stash a few in each of the various sizes in your toolkit. I carry a couple of everything from tiny little 6” ties for gathering wiring up out of the way to the huge 24” ties that are great for helping seat or remove carburetor racks.
We’re all about getting there and back in one piece. None of the advice above is meant is substitute for regular maintenance. We also recommend occasional deep cleaning of your motorcycle to look for loose fasteners, potential failures, and trouble spots. Emergency toolkits get you out of a jam, but regular maintenance prevents most of it from happening in the first place
Exercise good judgment and if you’re not sure about what you’re doing, find a mentor who can help you.
Hopefully, we’ll see you on down the road, and not alongside it.